
How To Wash Neem Oil off Plants: A Gardener’s Ultimate Guide
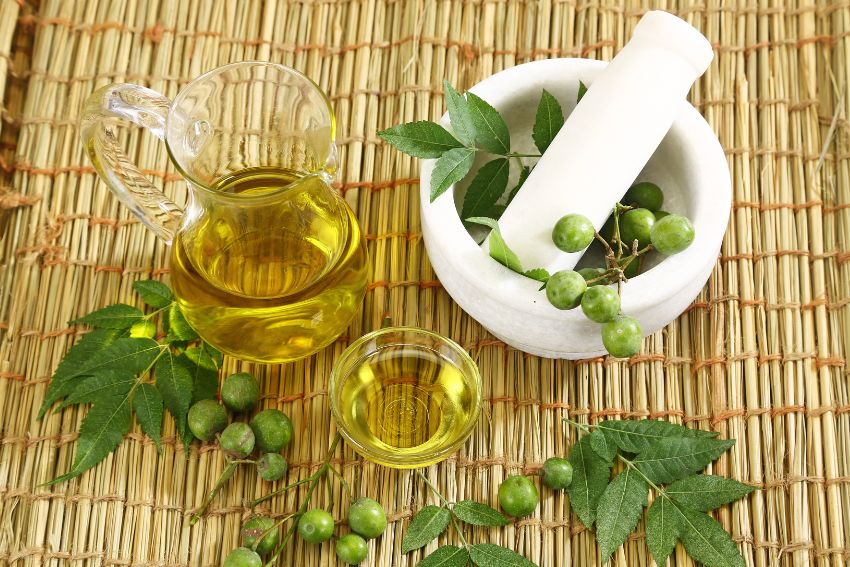
Welcome back, fellow gardening enthusiasts! Today, I’m excited to delve deeper into a common concern in the gardening world – removing neem oil from your beloved plants. Neem oil is a fantastic natural remedy for various garden pests and diseases, but it can sometimes leave a sticky residue that requires careful attention. Don’t fret; I’ve got your back! In this comprehensive guide, we’ll explore everything you need to know about washing neem oil off your plants, ensuring they stay healthy and vibrant. So, put on those gardening gloves, grab a cup of tea, and let’s embark on this gardening journey together!
Table of Contents
Understanding Neem Oil Residue
Before we roll up our sleeves and start scrubbing, it’s essential to understand why neem oil can leave a residue on your plants. Neem oil is derived from the seeds of the neem tree and contains various compounds with insecticidal and fungicidal properties. However, it also contains fatty acids that can create a sticky film on plant leaves when applied. This residue, while not harmful to your plants, can accumulate dust and debris over time, potentially hindering photosynthesis and overall plant health.
When to Wash Neem Oil off Plants
Knowing when to wash neem oil off your plants is crucial. Here are some situations where you might need to take action:
- After Pest Control: If you’ve used neem oil as a pest control measure and the infestation is under control, it’s time to remove the residue.
- Post-Disease Treatment: After treating your plants for fungal or bacterial diseases with neem oil, you’ll want to clean them up.
- Routine Maintenance: Some gardeners prefer a regular cleanup to prevent dust and debris from accumulating on the sticky neem oil residue.
Now that we’ve set the stage, let’s dive into a more detailed guide on how to wash neem oil off your plants effectively.
Tools and Materials You’ll Need
To ensure you have everything you need for a successful neem oil cleanup operation, gather the following items:
Cleaning Solution:
- Garden Hose: For a gentle initial rinse.
- Spray Bottle: To create a neem oil removal solution.
- Mild Dish Soap: Choose an organic or chemical-free option.
- Warm Water: To mix with the dish soap.
Cleaning Process:
- Soft Brush or Cloth: For gentle scrubbing.
- Watering Can or Container: For the final rinse.
- Soft Towels or Paper Towels: To pat your plants dry.
- Plant-Safe Sunscreen (Optional): To protect your plants after washing.
Step-by-Step Guide to Washing Neem Oil off Plants
Now, let’s get into the nitty-gritty of removing that neem oil residue with a more in-depth approach:
Step 1: Prepare Your Cleaning Solution
To ensure an effective cleaning solution, follow these steps:
- Fill a spray bottle with warm water.
- Add a few drops of mild dish soap (preferably organic or free of harsh chemicals).
- Gently shake the bottle to mix the solution thoroughly.
Step 2: Preliminary Rinse
Before you begin the cleaning process, it’s crucial to give your plants a gentle preliminary rinse:
- Start by using a garden hose to spray your plants. This will remove any loose dirt, dust, or debris.
- This initial rinse is essential to prevent any abrasive particles from scratching your plant leaves during the cleaning process.
Step 3: Apply the Cleaning Solution
Now, let’s apply the neem oil removal solution:
- Spray the soapy water solution evenly over the affected plant parts.
- Ensure that both the upper and lower sides of the leaves, stems, and any other neem oil-treated surfaces are adequately covered.
- Allow the solution to sit for about 5-10 minutes, giving it time to soften the neem oil residue.
Step 4: Gently Scrub
Once the solution has had time to work its magic, proceed to scrub the plant surfaces gently:
- Use a soft brush or cloth to delicately scrub the areas where neem oil residue is present.
- Exercise caution not to damage your plants while scrubbing; a light touch is all you need.
Step 5: Rinse Thoroughly
After scrubbing away the residue, it’s time for a thorough rinse:
- Using your garden hose, thoroughly rinse your plants with a gentle stream of water.
- Ensure that all the soapy residue and neem oil remnants are completely washed away.
Step 6: Final Rinse
To wrap up the cleaning process, give your plants a final rinse with clean water:
- Use a watering can or container to provide a final rinse, ensuring no soap or neem oil residue remains on your plants.
Step 7: Pat Dry
After the final rinse, gently pat your plants dry with soft towels or paper towels:
- This step helps prevent water spots and ensures your plants don’t stay damp, which could invite more pests or disease.
Step 8: Consider Sunscreen (Optional)
If you’re concerned about your plants’ sun sensitivity after washing, consider applying a plant-safe sunscreen:
- These products provide a protective barrier against excessive sunlight while your plants recover.
Tips for Success
To achieve the best results when washing neem oil off your plants, consider these additional tips:
- Always perform neem oil residue removal during the early morning or late afternoon to prevent sunburn on freshly cleaned plants.
- If your plants have delicate or fuzzy leaves, use an even lighter touch when scrubbing to avoid damage.
- Don’t forget to wash your hands and clean your tools after handling neem oil and cleaning solutions.
- Regularly inspect your plants for any signs of pests or diseases and take immediate action to keep your garden healthy.
In Conclusion
And there you have it, folks! A comprehensive and detailed guide on how to wash neem oil off your plants. By following these steps and tips, you’ll ensure that your garden remains pest-free, disease-resistant, and bursting with natural beauty. Remember, a little care and attention go a long way in the world of gardening. Happy gardening, and may your plants thrive!
Share This Story, Choose Your Platform!



Latest News To Your Inbox
Subscribe to hear about our latest blog posts, competitions and special offers.
