
When and How To Cut Gladiolus Back? [Guide]
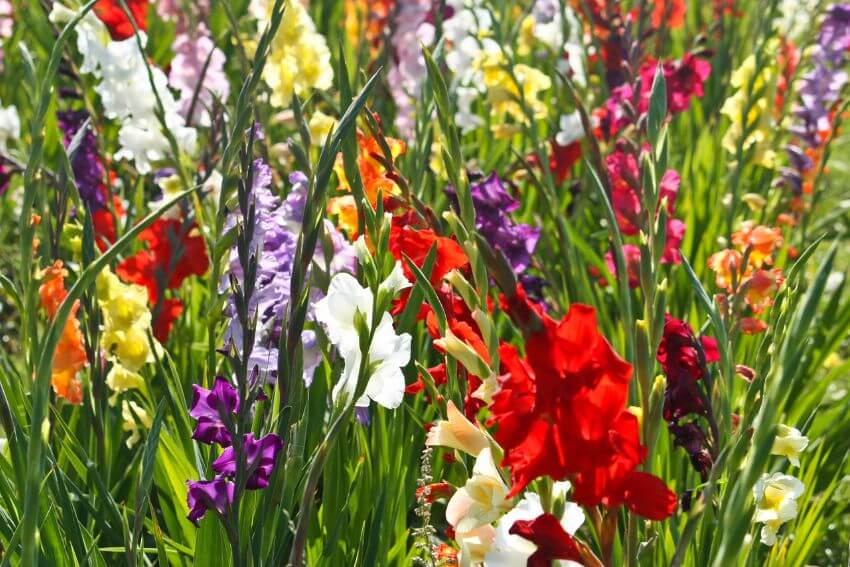
Hey there, fellow gardening enthusiasts! Gladiolus, often affectionately referred to as “glads,” are magnificent and elegant flowers that grace our gardens with their vibrant colors and towering spikes. But when it comes to caring for these beauties, knowing when and how to cut gladiolus back is essential to ensure their health and continued bloom. In this comprehensive gardening guide, I’ll walk you through the ins and outs of gladiolus care, so you can enjoy these stunning flowers to the fullest.
Table of Contents
Understanding Gladiolus Growth Cycle
Before we dive into the specifics of cutting back gladiolus, let’s get a grasp of their growth cycle:
- Spring Planting: Gladiolus corms (similar to bulbs) are planted in the spring, typically after the last frost date in your area.
- Summer Growth: Glads grow throughout the summer, sending up tall, sword-like spikes adorned with colorful blooms.
- Blooming Period: The flowering period usually occurs from mid-summer to early fall, depending on your location and the specific gladiolus variety.
- Post-Bloom: After the flowers fade, gladiolus start to prepare for dormancy and storage, especially in regions with colder winters.
With this cycle in mind, let’s explore when and how to cut back your gladiolus for optimal results.
When to Cut Gladiolus Back
Knowing when to cut your gladiolus back is crucial to their overall health and future blooms. Here’s a breakdown of the key timing:
1. After Blooming
The ideal time to cut back your gladiolus is after they finish blooming. This is typically in late summer or early fall. Waiting until the flowers have faded ensures that the plant has had sufficient time to store energy in its corms for the next growing season.
2. Before the First Frost
In regions with cold winters, you should aim to cut back your gladiolus before the first frost. This prevents the corms from being damaged by freezing temperatures. The exact timing varies by location but is usually in October or November.
Pro Tip: If you’re unsure about the frost dates in your area, consult your local agricultural extension office for guidance.
How to Cut Gladiolus Back
Now that we know when to cut back our gladiolus, let’s get into the “how” part. It’s a straightforward process, but a few steps can make a significant difference in the health of your glads.
1. Gather Your Tools
Before you start, make sure you have the following tools ready:
- Pruning shears or scissors: Use sharp, clean pruning shears or scissors to prevent damage to the plant.
- Gloves: Wearing gloves protects your hands from any sharp edges or potential skin irritation.
- Bucket or container: You’ll need a container to collect the cut flower spikes and foliage.
2. Cut the Flower Spikes
Begin by cutting the flower spikes. Here’s how:
- Locate the spent flower spike: Identify the spike that has finished blooming. You’ll notice faded or wilted flowers.
- Cut above the first healthy leaf: Using your pruning shears, cut the spike just above the first healthy leaf, leaving the foliage intact.
3. Remove Yellowing or Browning Leaves
Next, inspect the leaves of your gladiolus. If you notice any yellowing or browning, it’s essential to remove them. Here’s what to do:
- Cut at the base: Use your shears to trim the discolored leaves at their base, as close to the plant as possible without damaging the healthy foliage.
4. Loosen Soil Around Corms (Optional)
If you live in an area with harsh winters or if your gladiolus have been in the ground for a few years, you may want to dig up the corms for winter storage. This step is optional but can ensure the survival of your gladiolus in cold climates. Here’s what to do:
- Wait for the foliage to yellow: After cutting back the gladiolus, wait for the remaining foliage to yellow and die back completely. This can take a few weeks.
- Dig carefully: Use a garden fork or shovel to dig up the corms, taking care not to damage them.
- Clean and dry: Shake off excess soil and allow the corms to dry in a cool, dry place for a few weeks.
- Store for winter: Once dry, store the corms in a breathable container (like a mesh bag or paper bag) in a cool, dark, and dry location for the winter.
Pro Tip: Label your gladiolus corms if you have different varieties to ensure you know what you’re planting next spring.
5. Maintain and Prepare for Spring
While your gladiolus are dormant during the winter, it’s an excellent time to perform a few maintenance tasks:
- Inspect for signs of disease: Check your corms for any signs of disease or rot. Discard any affected corms to prevent the spread of problems.
- Plan for spring: Decide where you’ll plant your gladiolus next spring and prepare the soil accordingly. Adding organic matter can improve soil fertility.
- Review and order new corms: If you want to add new gladiolus varieties to your garden, now is the time to order them. Plan ahead for a colorful and diverse garden next year.
In Conclusion
Cutting back gladiolus after they finish blooming and before the first frost is a straightforward but crucial task for their health and future growth. By following these steps and paying attention to your glads’ needs, you’ll be rewarded with vibrant blooms year after year. Happy gardening!
Share This Story, Choose Your Platform!




Latest News To Your Inbox
Subscribe to hear about our latest blog posts, competitions and special offers.
